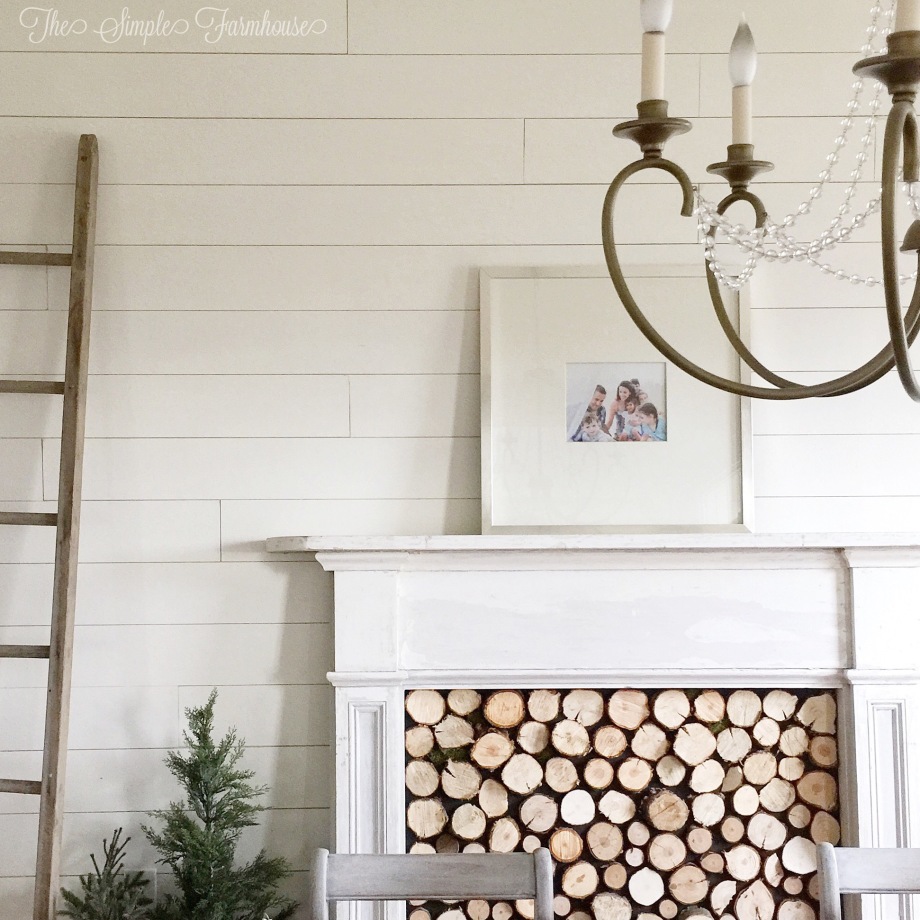
You may have seen images floating around on Pinterest of beautiful old mantels (or even DIY mantels) with a faux log inset. I’ve loved the look from the first time I saw it and I knew that I wanted to do that with our salvaged 1850’s mantel. So I finally gave it a try and I absolutely love how it turned out. I think the log slices add a sense of depth to the piece that really makes it pop against the wall, and it’s got texture and contrast galore! Best of all: It was super cheap and easy!

LEVEL OF DIFFICULTY: easy – minimal tool use….(or Moderate if you plan on slicing your own logs and cutting your own plywood)
TIME: 2 hours+, depending on whether you are slicing your logs
TOOLS: measuring tape, drill, 1/2″ wood screws, (table saw if your logs aren’t pre-sliced), (circular saw if you plan to cut your plywood)
SUPPLIES: a mantel that isn’t attached to a wall (salvaged or built); 1/4 ” plywood cut to size; narrow logs (around 2 to 4 inches in diameter), 1 can of flat black spray paint or a sample size of matte black, 1-2 bags of floral moss, a hot glue gun, Gorilla brand hot glue sticks
COST: I spent about $20. (about $13 for plywood,$2 for paint, $5 for a bag of hot glue sticks and a few screws that I already had on hand)
HOW TO:
Turn your mantel around and determine the best place to secure a piece of plywood on the back. Measure across that distance. This is the height and length for your plywood piece. I took this measurement to Lowe’s to have it cut there. You could also do this at home if you have the tools. I chose 1/4″ plywood because it’s narrow and won’t be bulky at the back where the mantel meets the wall.
Spray one side of your cut plywood piece with the can of black spray paint. You can use the cheap stuff. A sample size of matte black paint, brushed on, would also do the trick. It doesn’t have to be perfect, so don’t labor over it.
Screw the plywood piece onto the back of your mantel with the black side toward the front.

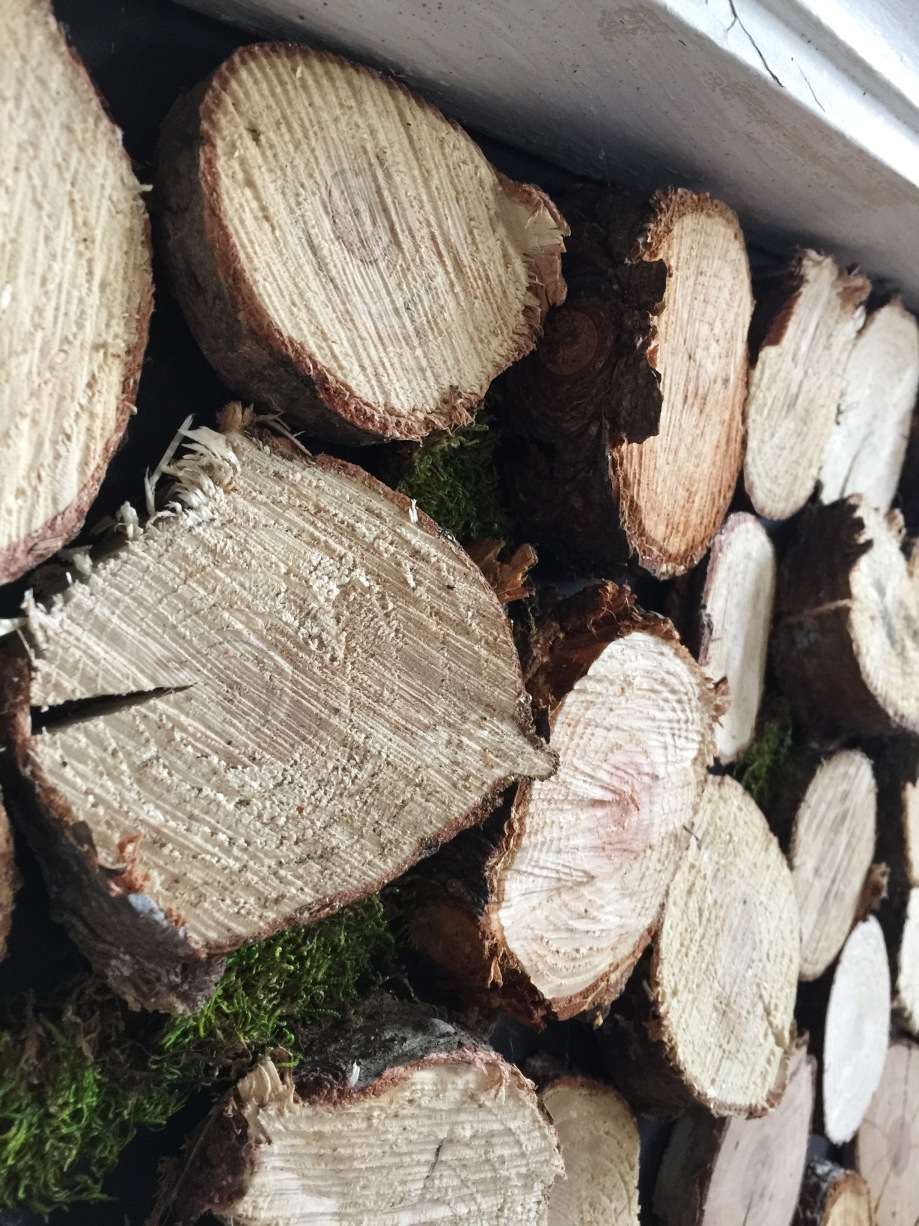
Above is what it looked like at this stage. And it stayed like that for a few weeks while I gathered the wood slices. The slices that I used were primarily collected from the Lowe’s and Home Depot garden centers during the Christmas season. Christmas tree trunks were the perfect diameter, and they were already sliced for me! Another big bonus: they were free! (Yes, I was the lady rummaging through their bins of branches twice a week – no shame!) A second bonus: they smelled pretty!
But even with all of my collecting over the holiday season, I didn’t have enough to finish the bottom portion of my mantel, so a friend let me pick through her wood pile to get what I needed. The logs I picked from her house were sliced with a table saw (just cut up to the safety point – not too short! Please watch your fingers! And keep the diameter small if you do this). The slices can be random widths – 1-2″ thick seemed like a good size.
Attach the wood slices to the plywood backing. I used Gorilla brand hot glue and it’s extremely sturdy. Those slices aren’t going anywhere! This step was super fast once I got going. Don’t overthink the arrangement. I just tried not to have too many little logs in one spot – mix up the sizing – but other than that, glue away!
You can leave a narrow gap around each slice to let the black pop through. Don’t feel like they have to be butting up against one another perfectly. And there will be places where you just can’t close that gap enough to make it work. Don’t fret! This is where the bag of moss will save the day. I bought my moss from Wal-Mart for about $3. Just tear off pieces of the moss sheet to fill in those awkward large spaces, and hot glue them in place.
I absolutely love how it turned out. I’m crazy about the price too – you can’t beat $20 for this kind of impact in a room!
If you make a log slice inset for your mantel I would love to see! Tag me on Instagram @the.simple.farmhouse for a chance to be featured on my page.
Happy Creating!
xoxo,
Laura